
티스토리 뷰
드디어 예제를 가지고 왔습니다 !!
Example) 포켓몬 도감 2 !!
설명이 길 수 있어서 세세한 부분은 좀 생략을 했습니다 잘 따라와주세요 !
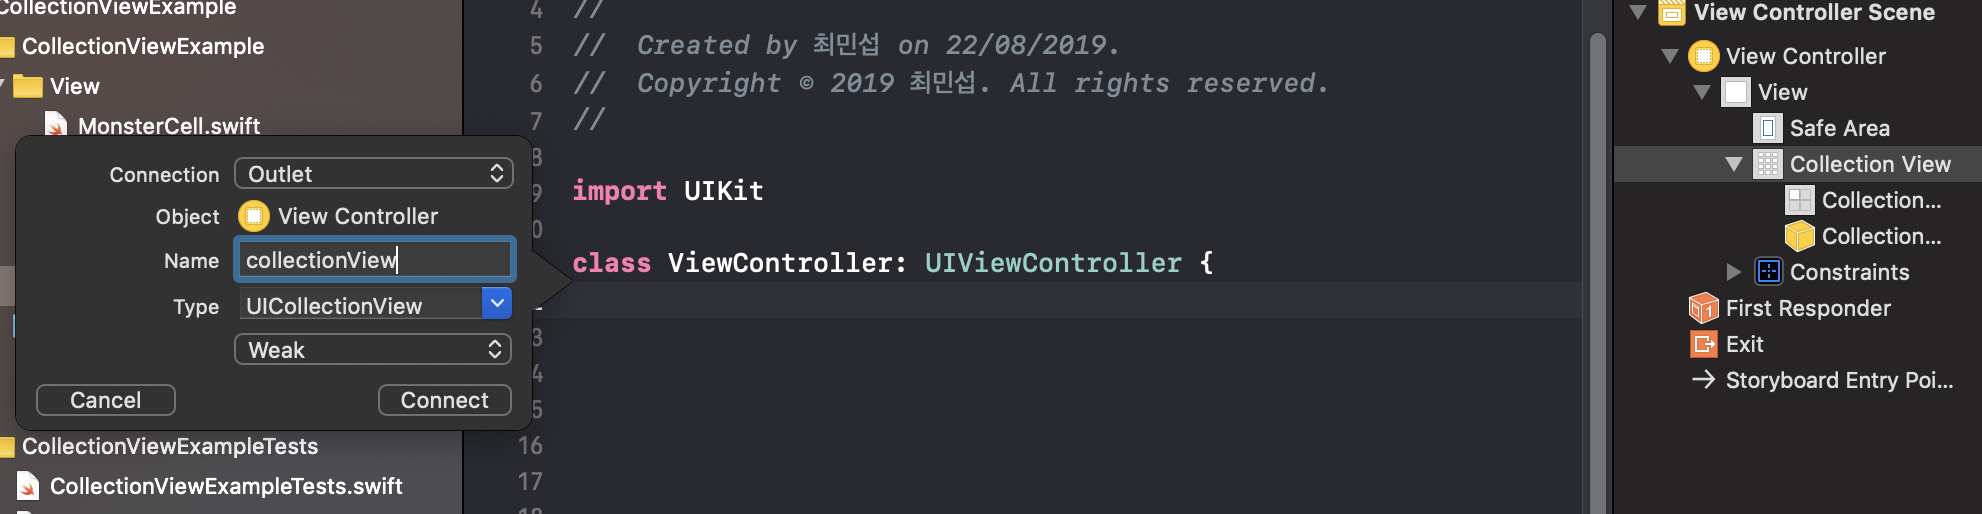
먼저 스토리보드에 UICollectionView를 뷰 전체 사이즈로 추가해 주시구요.
ViewController에 레퍼런스를 따옵니다. (IBOutlet weak var ...)
//ViewController.swift

private var pokemons: [UIImage] {
    var pokemons:[UIImage] = []
    for i in 0...50 {
        let index = i % 16
        let image = UIImage(named: "pokemon\(index)")!
        pokemons.append(image)
    }
    return pokemons
}
미리 asset에 저장해놓은 pokemen0,1,2,3,4.....,15 이미지들을 가져옵니다.
배열의 길이는 임의로 50개를 지정한 거고 이미지 16개도 물론 큰 의미가 없습니다 ㅎㅂㅎ.
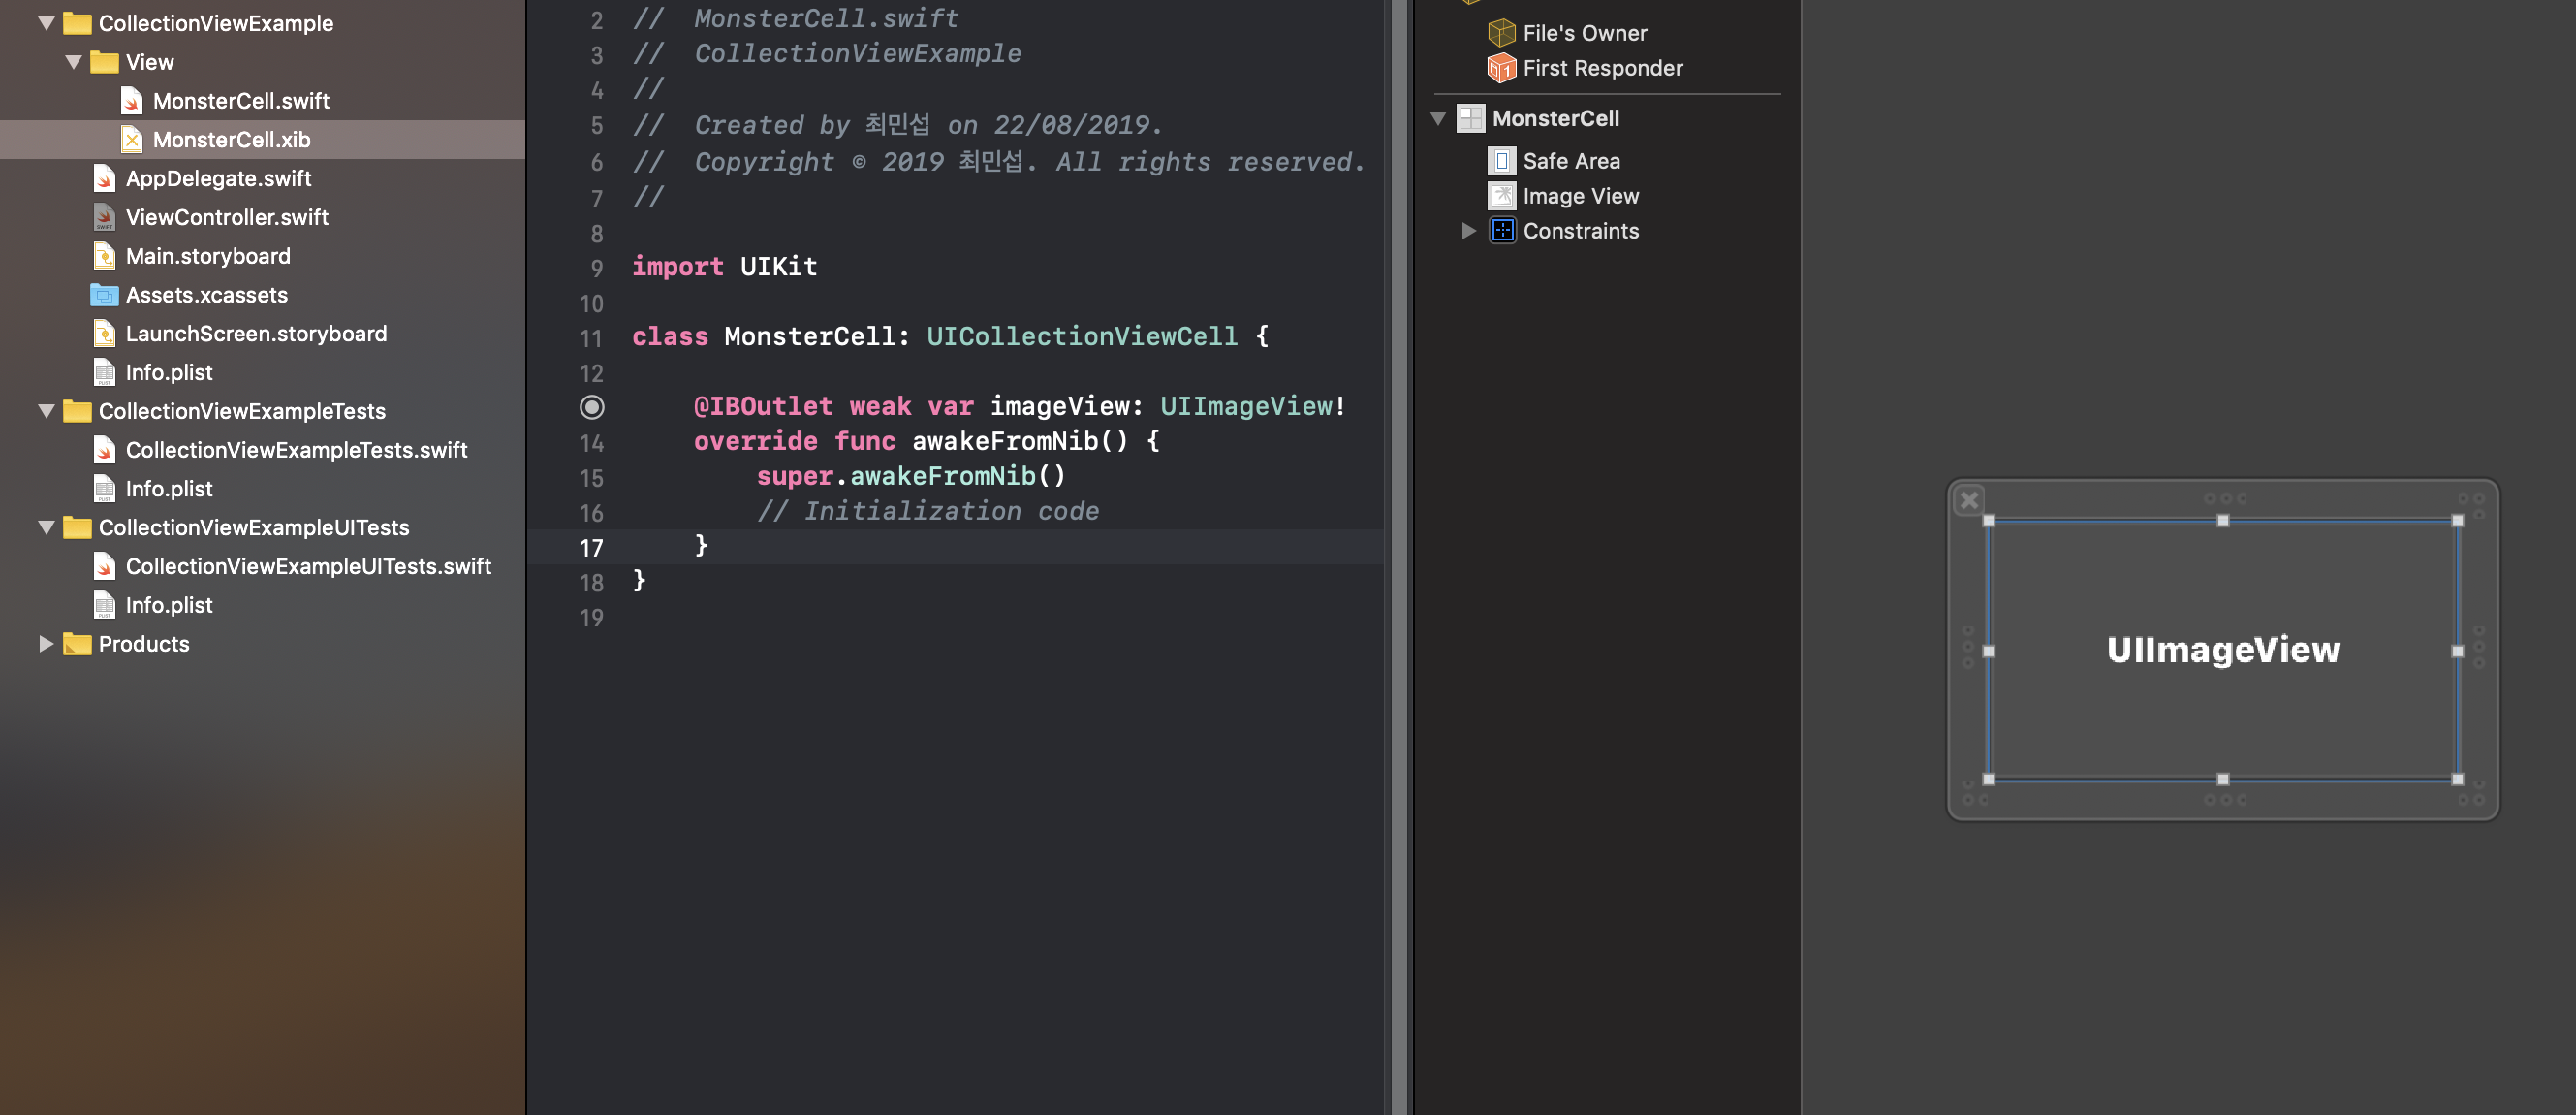
컬렉션뷰의 셀을 외부에서 받아오기 위해
View 라는 그룹안에 MonsterCell.swift와 MonsterCell.xib 파일을 따로 만들고 간단하게 이미지뷰 하나만 뷰 전체 사이즈로 추가합니다.
물론 MonsterCell.swift안에 UIImageView에 대한 레퍼런스를 추가해 줍니다.
이미지를 넣어야하니까요 ㅎㅅㅎ
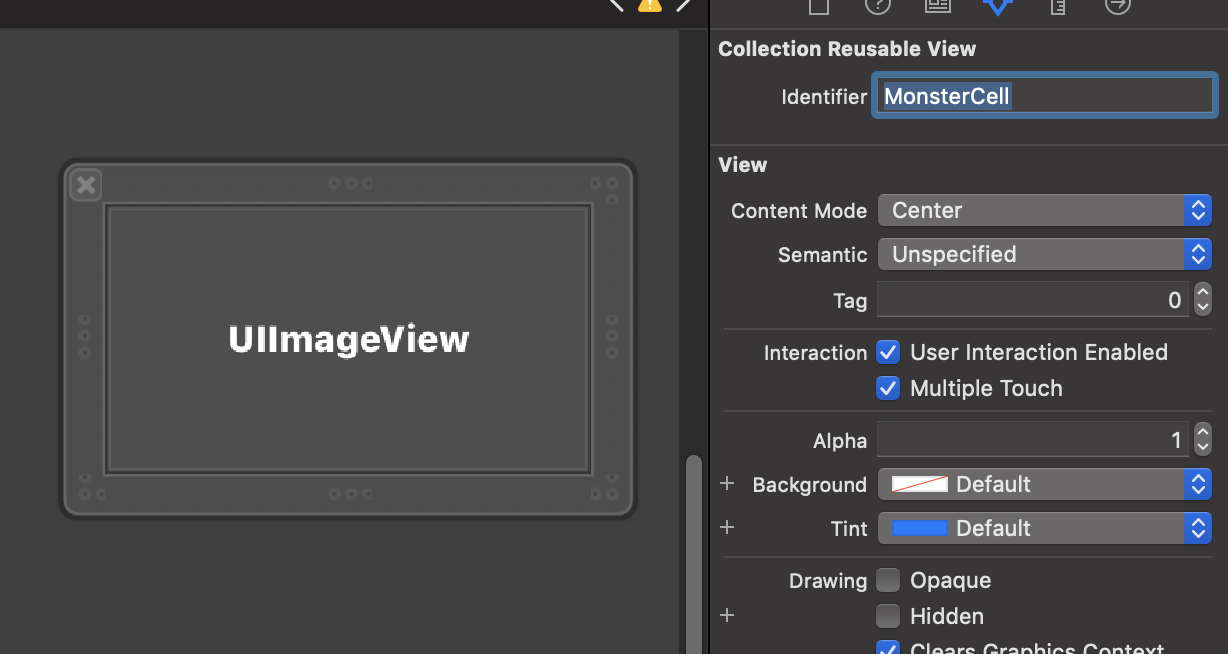
MonsterCell.xib에서 셀의 reusable 를 위한 identifier로 MonsterCell 을 부여해줍니다.
여기서 팁은 Identifier와 사용할 클래스 이름을 같게 해주는 게 가독상 좋습니다~
...
셀에 대한 작업은 이것으로 마치고 이제 ViewController.swift 에서 작업을 이어가 보아유
//ViewController.swift

override func viewDidLoad() {
    super.viewDidLoad()
    // Do any additional setup after loading the view.
    collectionView.delegate = self
    collectionView.dataSource = self
    collectionView.register(UINib(nibName: "MonsterCell", bundle: .main), forCellWithReuseIdentifier: "MonsterCell")
}
딜리게이트, 데이터소스 프로토콜을 채택했다고 알려주고, (delegate는 아직 사용 x)
.register함수를 통해 외부에 있던 셀(.xib)을 collectionView에 추가해 줍니다.
이제 프로토콜을 채택하고 그에 대한 구현을 마저하겠습니다.
extension ViewController: UICollectionViewDelegate, UICollectionViewDataSource {
    func collectionView(_ collectionView: UICollectionView, numberOfItemsInSection section: Int) -> Int {
        return 20
    }

    func collectionView(_ collectionView: UICollectionView, cellForItemAt indexPath: IndexPath) -> UICollectionViewCell {
        guard let cell = collectionView.dequeueReusableCell(withReuseIdentifier: "MonsterCell", for: indexPath) as? MonsterCell else {
            return UICollectionViewCell()
        }

        cell.imageView.image = pokemons[indexPath.row]
        return cell
    }
}
셀의 갯수를 동적으로 늘려가 볼 것이기 때문에 초기설정으로 20개의 셀을 설정했구요,
MonsterCell을 재사용합니다.
image는 사전에 정의해놓은 pokemons 배열안에 담긴 UIImage를 가져다 쓸 거에요
짜잔 ㅎㅎㅎㅎㅎ
...
잘 안보이시죠..?
UICollectionViewFlowLayout을 설정해서 셀의 크기를 바꿔 봅시당
private func setupFlowLayout() {
    let flowLayout = UICollectionViewFlowLayout()
    flowLayout.sectionInset = UIEdgeInsets.zero
    flowLayout.minimumInteritemSpacing = 10
    flowLayout.minimumLineSpacing = 10

    let halfWidth = UIScreen.main.bounds.width / 3
    flowLayout.itemSize = CGSize(width: halfWidth * 0.9 , height: halfWidth * 0.9)
    self.collectionView.collectionViewLayout = flowLayout
}
해당 함수는 viewDidLoad() 에서 호출해 주세요
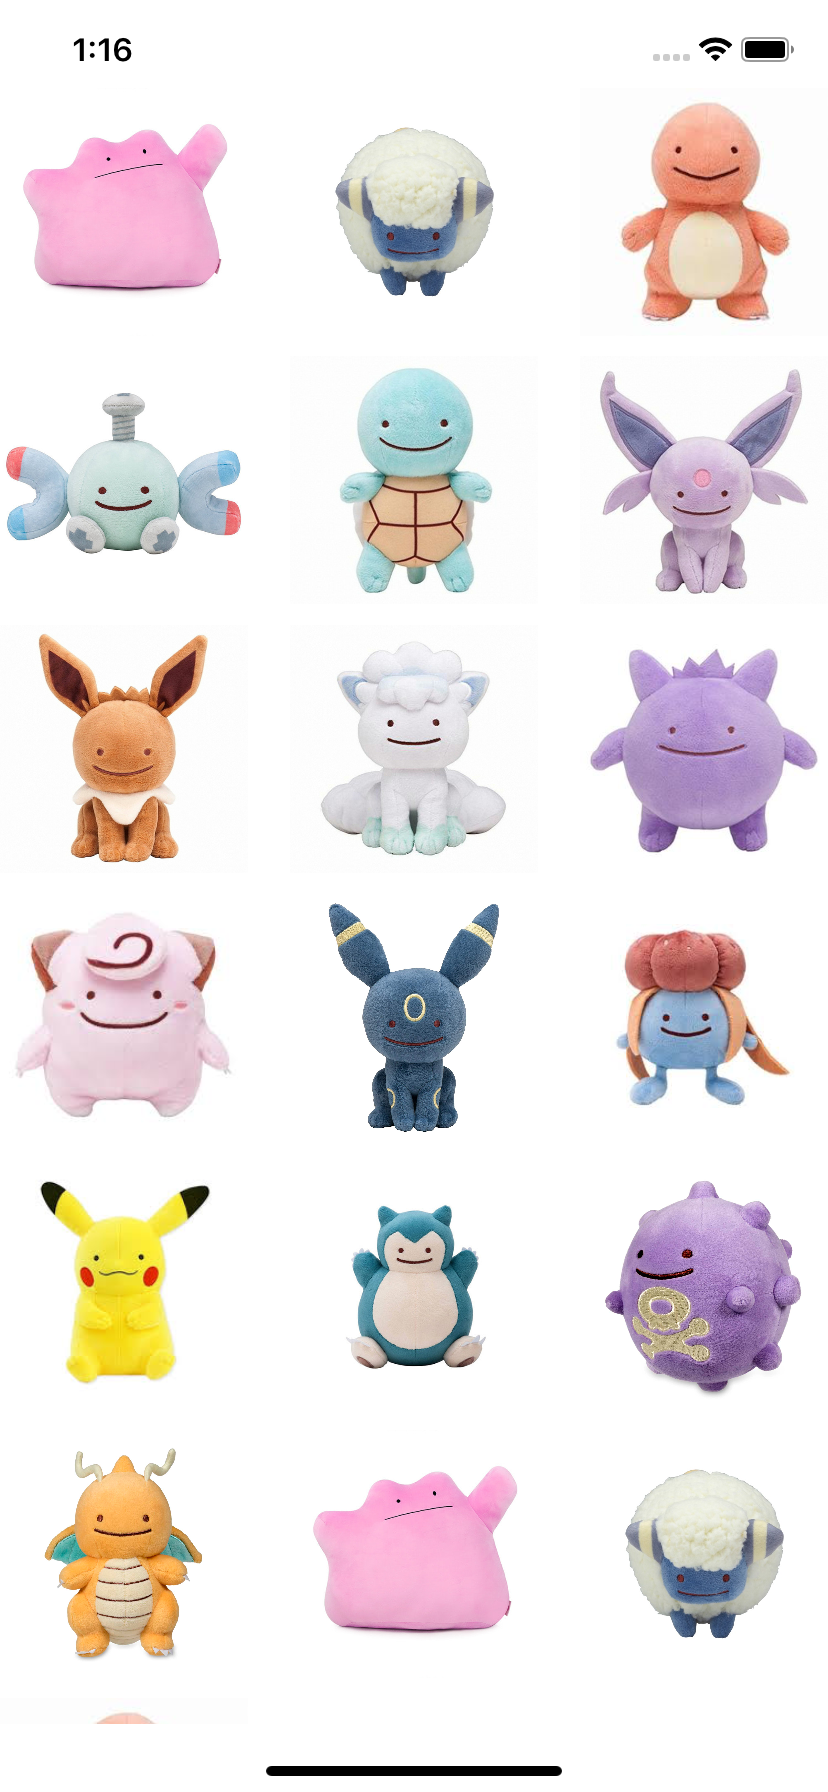
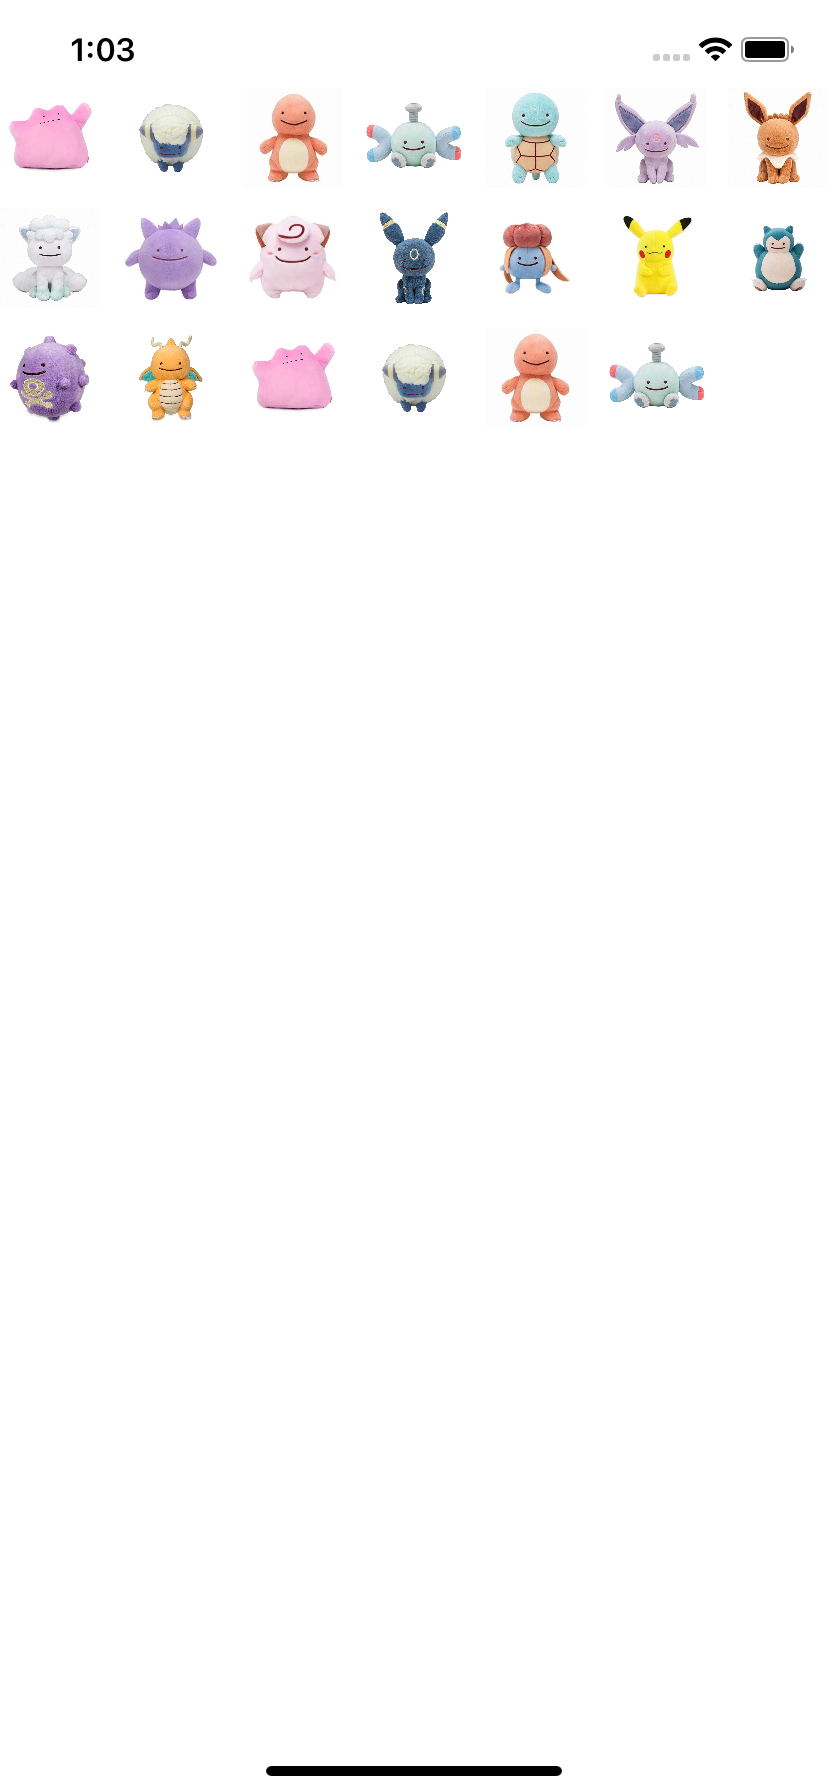
이제 잘 보이실 겁니다
모두 메타몽이라는 것이
하하핳하하하ㅏ하하ㅏㅏㅏㅏㅏㅏ
...
셀의 사이즈를 적절히 조절함으로써 컬럼의 갯수를 정할 수 있습니다.
위에 서는 전체 뷰사이즈를 3으로 나눈 값으로 셀의 사이즈를 지정하고 셀간격도 그에 맞게 해준 것입니다.
이제 셀을 추가하고 빼는 작업을 해보겠습니다.
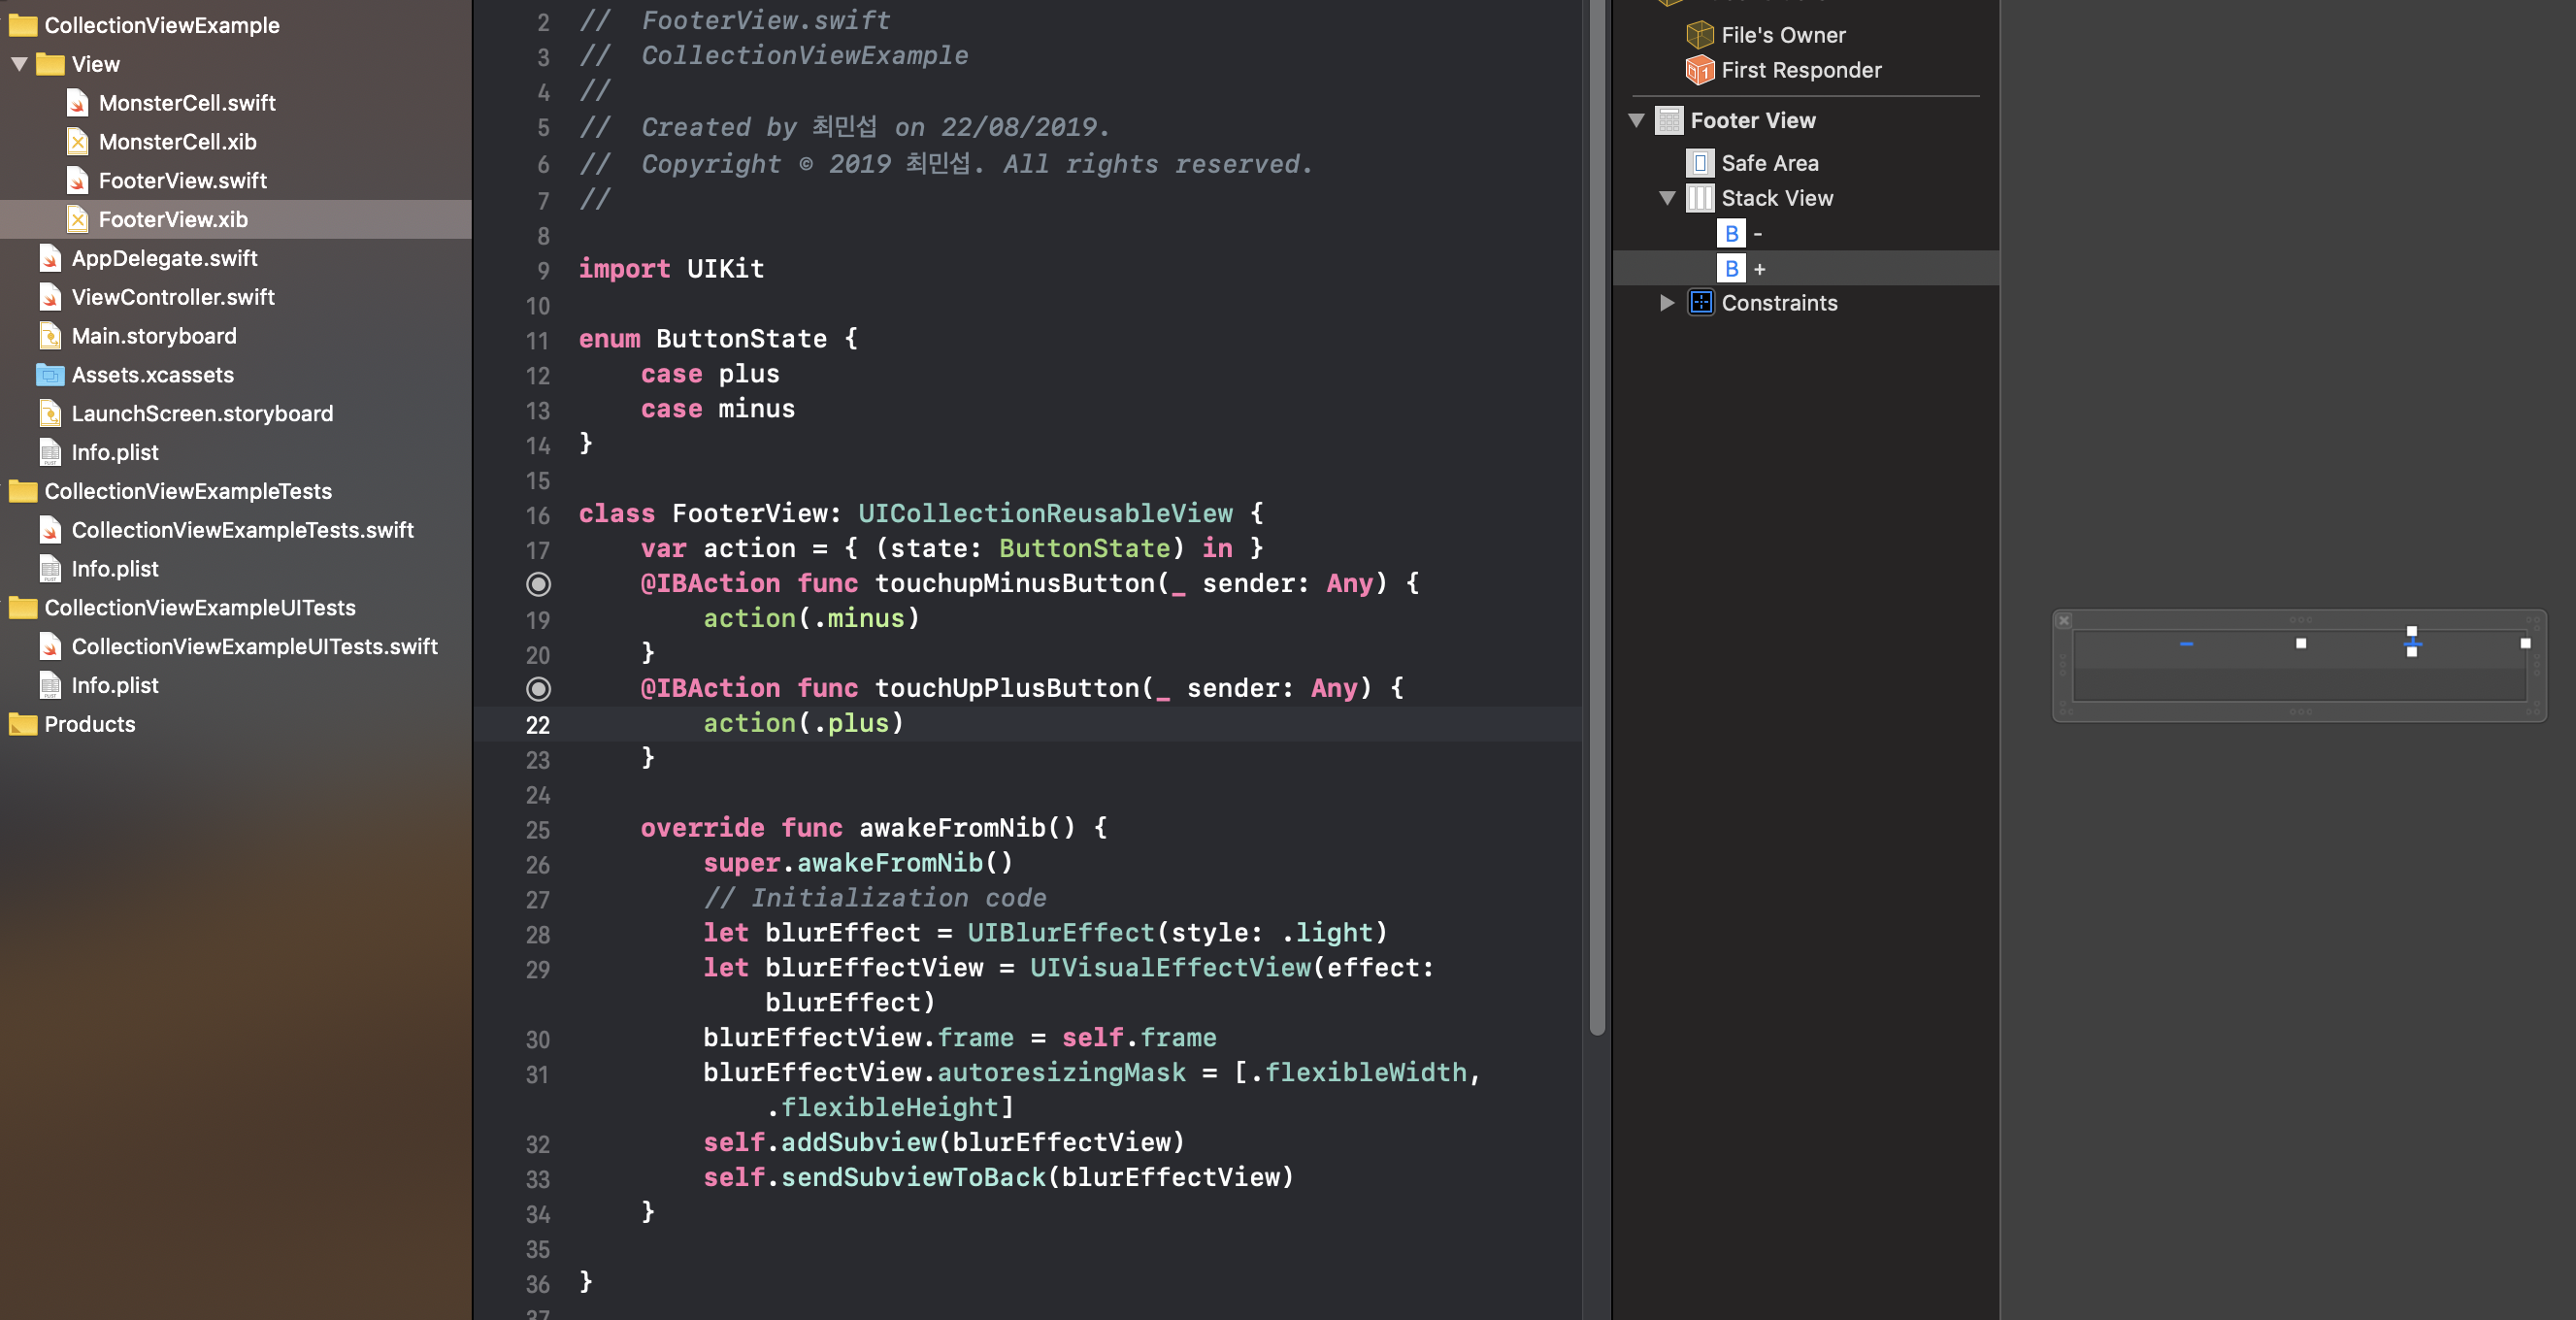
먼저 -,+ 버튼을 가진 FooterView를 하나 생성해 줍니다. 방식은 위에서 셀을 추가했던 것과 같아요
여기서 UIButton에 대한 Action 을 달아주고 action 함수형 변수를 이용해서 event처리를 해줍니다.
action에 대한 내부구현은 ViewController에서 해주도록 할게요
다시 ViewController로 돌아와서
collectionView.register(UINib(nibName: "FooterView", bundle: nil), forSupplementaryViewOfKind: UICollectionView.elementKindSectionFooter, withReuseIdentifier: "FooterView")
Footer를 등록해주시고요
flowLayout.footerReferenceSize = CGSize(width: halfWidth * 3, height: 70)
flowLayout.sectionFootersPinToVisibleBounds = true
크기를 지정해주고
func collectionView(_ collectionView: UICollectionView, viewForSupplementaryElementOfKind kind: String, at indexPath: IndexPath) -> UICollectionReusableView {
    guard let footerView = collectionView.dequeueReusableSupplementaryView(ofKind: UICollectionView.elementKindSectionFooter, withReuseIdentifier: "FooterView", for: indexPath) as? FooterView else {
        return UICollectionReusableView()
    }

    footerView.action = { (state: ButtonState) in
        switch state {
        case .plus:
            self.numberOfCell += 1
        case .minus:
            self.numberOfCell -= 1
        default:
            break
        }
        self.collectionView.reloadData()
    }

    return footerView
}
터치 이벤트에 대한 로직을 구현해줍니다.
간단하게 state 에 따라서 보여줄 cell의 갯수를 변경하고 컬렉션 뷰를 리로드 해줍니다.
아 그리고 저기서 numberOfCell 은 뭔놈이냐면
private var numberOfCell = 20 {
    didSet {
        if numberOfCell > 50 {
            numberOfCell = 50
        } else if numberOfCell < 0{
            numberOfCell = 0
        }
    }
}
아까 컬렉션 뷰의 갯수를 지정하던 collectionView(UICollectionView, Int) -> Int 함수에 상수 리턴이 아니라 numberOfCell 변수를 리턴하도록 변경하였어요 !
첨에 array 사이즈를 50으로 지정해놔서...ㅎ 조건을 달아줬습니다.

아아아... 아름답습니다.
아름다운 메..포켓몬 도감이 완성입니다.
전체 소스 코드는 깃에 올려놨으니 궁금하신 분은 확인해보세요~
의문이 드는 부분 또는 잘못된 부분은 댓글로 남겨주시면 바로 수정하겠습니다 !
그럼 20000
---- 혹시 UICollectionView Footer 밑에 공간이 뜨는데 해결방법아시는 분 계신가요.. safearea 영역에 걸린 것 같은데 안에 cell은 괜찮고 footer (supplementaryView)만 걸리네요 ㅠ 혹시 아시는 굇수분 댓글 부탁드립니다 !
'iOS' 카테고리의 다른 글
| [iOS] Tab Bar 톺아보기 (0) | 2019.09.04 |
|---|---|
| [iOS] Alert, ActionSheet 톺아보기 (0) | 2019.09.04 |
| [iOS] UICollectionView 톺아보기 - 3 (0) | 2019.08.22 |
| [iOS] UICollectionView 톺아보기 - 2 (1) | 2019.08.22 |
| [iOS] UICollectionView 톺아보기 - 1 (0) | 2019.08.22 |